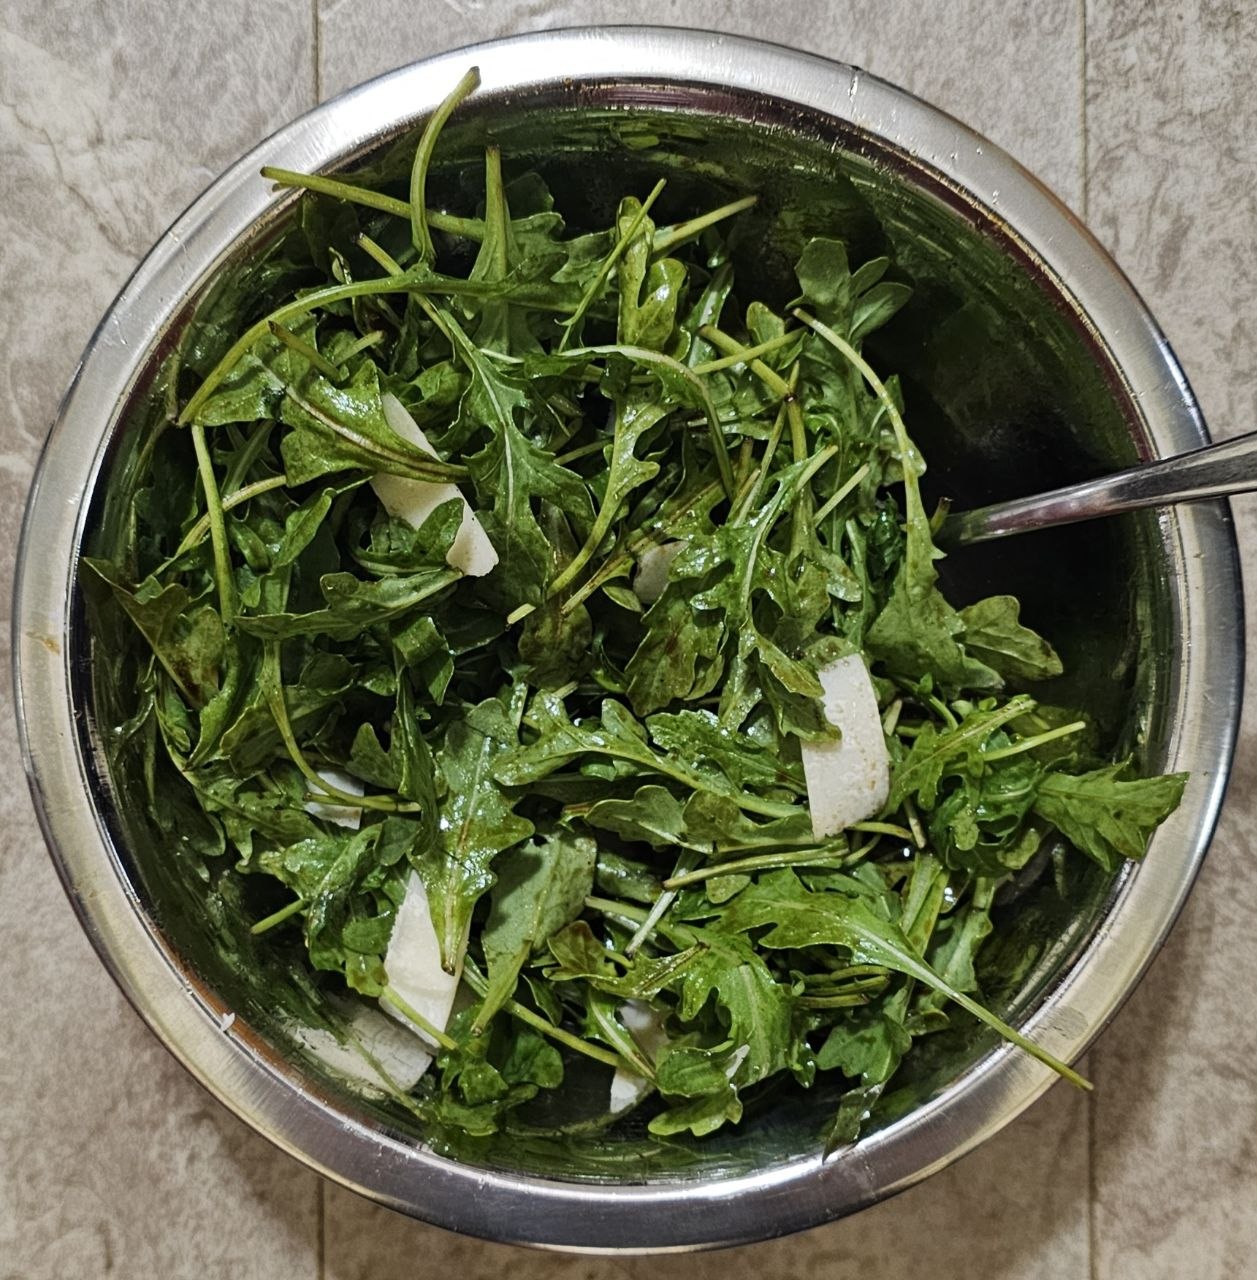
in a medium bowl, add oil, vinegar, and seasonings, use your salad fork to give it a quick whisk
add arugula and use your hands to toss and coat the greens evenly; you can give them a bit of a massage to help soften, but nothing too rough
use a vegetable peeler to shave parm on top
serve immediately; this salad won’t be great if it’s sitting out for hours
Nutrition
whole recipe (1 serving): 139 calories
Notes
This recipe is suuuuper basic, resulting in an acidic, lightly dressed salad. Adjust all amounts to your preferences.
I prefer my salad dressings to be tart and not overly oily, but the standard vinaigrette ratio is usually 2 parts oil to 1 parts acid. Do whatever you like better. I also prefer very lightly dressed salads. If you like more dressing, increasing those ingredients or use fewer greens.
The greens can be whatever you have on hand: spring mix, spinach, dandelion greens, celery tops, carrot greens, etc. Use what you have.
The Acid
Feel free to swap out any acidic component for the balsamic. Fresh lemon juice, apple cider vinegar, champagne vinegar, etc. Here I used a good quality Balsamic, which is a bit sweet naturally. If you’re using a low quality Balsamic (which definitely has it’s place), start with about half and build up from there.
Unfussy biryani made from leftover salan, on the stove top or the Instant Pot. Use any shorba or qorma wala salan that has a tomato onion masala base. See Notes section for a “salan” hack if you don’t have any on hand.
The stove top version is unfussy from using leftover salan and also from only making 1 layer, in a wide, shallow paella pan (if you have one). If you don’t have such a pan, use whatever pot you have, and you can do multiple layers if you want.
wash rice thoroughly 4-5 times, and set to boil with 1 tsp salt in medium sized pot; cook until 80-90% done
heat a large, wide paella pan, add oil until shimmering, add onions to brown along with the potatoes
add tomatoes and cook until they start to break down
add half the jalapeño and all the Shan masala, sauté a few minutes to infuse oil with flavor and mix thoroughly
add salan, mix thoroughly
add yogurt; mix
cook gravy down until mostly “dry” and oil starts to separate, reduce heat to minimal
gravy should taste a little too salty and overspiced at this stage
spread gravy out in an even layer
strain rice (should be about 85% done, but it’s not that deep), spread evenly on top of the gravy in a single layer
sprinkle cilantro, mint, and the rest of the jalapeño on top; cover with a tight-fitting lid, set to steam for ~15 minutes at lowest heat setting
fluff up and serve
Instant Pot
The instant pot version is even more unfussy, because there’s no layering whatsoever, it’s all cooked together, pulao style, and made in just one pot. No futzing about with getting the rice to 85% done, etc. Down side is that the rice will all be one color, not variegated like when it’s layered.
mode: sauté
temp: medium
wash rice thoroughly 4-5 times, set aside to soak for 30-60 minutes
when IP is hot, add oil, onions, salt; cook until onions start to brown
add tomatoes, potatoes, half the jalapeños, cook until they start to break down
add Shan masala, mix thoroughly and cook for 1-2 minutes
add salan, mix and cook down
add yogurt; mix
cook gravy down until mostly “dry” and oil starts to separate; turn off sauté mode
drain rice and add to instant pot, along with 675g water
use your judgement; if your gravy is a bit wet (maybe you had to periodically deglaze with water), use slightly less water
sprinkle cilantro, mint, and remainder of the jalapeño on top, close the lid
pressure: high
time: 4 minutes
release: 5 minute natural release
open lid and fluff rice;
if it looks a little wet, leave the lid off and let the rice air out after fluffing, periodically fluff again so the rice on the bottom has a chance to air out as well
notes
The Sukhi’s brand chicken curries from Costco make a great base here; mango coconut curry flavor works better than the tikka masala, as it’s more mildly spiced. One pouch is enough for this recipe (the Costco pack contains 2 pouches).
Any tomato-based salan will probably work; I’ve even made leftover biryani from an Italian chicken dish I’d made, so don’t be shy to experiment. The biryani masala is quite strong and will overpower most existing flavors.
can be made vegetarian easily
can also add goodies like dried plums when making the gravy
Biryani Masalay
There are other biryani mixes available, even from the same brand, and I’ve used several when making this recipe—but none of them give the perfect biryani flavor that I get from the Shan Special Bombay Biryani mix, so I stick with it.
If you have others on hand, use them at your own risk. Here are some of my notes below:
Shan regular biryani mix is…fine, but nothing really to write home about, it’s missing whatever gives the Special Bombay Biryani its chatpata zing
National brand is ok but heavier on the laal mirch, so use a more sparing hand
Lazizah was basically all mirch, so use a very light hand; also, very few other notes could be detected; do not recommend
See the freezing guide for tips and information on freezer-safe food storage.
This version contains the measurements and ingredients necessary to make biryani pasta in a 6qt or larger instant pot. These measurements (especially timing and water amounts) will not work for the stove top, although using common sense, you could easily adapt the recipe for stove top cooking.
Recipe tested in a 6qt standard and 7qt Rio Wide Instant Pot.
when IP is heated up on sauté mode, add olive oil and wait for it to heat up
add sliced onions and sauté until transluscent; no need to brown
add Shan masala and toast in oil for ~1-2 minutes, making sure there are no dry bits of masala and also that the masala doesn’t burn
if using raw chicken, add it now and mix well
add tomato or marinara sauce and mix well
IMPORTANT: pasta is not eaten like biryani, where the whole spices are expected to be picked out, so after the flavors of the spices have infused the tomato sauce mixture well, fish out as many of the whole spices as you can find.
at this stage, mixture should taste over-spiced and salted
add salt or more Shan masala conservatively, per taste; remember there’s salt in the Shan mix, too
add pasta
if using spaghetti or other long shapes, break in half and layer in criss-cross pattern to fit in 6qt pot
add water; scrape the bottom of the pot to make sure nothing is sticking that will burn later
pressure: high
time: 8 minutes
release: manual
once pressure drops, open lid and add cheese and cilantro, stir to melt and combine
can also add cheese individually in plates when serving
Notes
any pasta shape will work, I’ve used spaghetti, farfalle, rotini, penne, etc.
there are other biryani mixes available, even from the same brand, but I don’t find the perfect biryani flavor in any of them but the one I linked, so use others at your own risk (some are much heavier on the spice or salt, some lack the proper floral notes, etc.)
if using cooked chicken, shred and add it at the end, along with the cheese in step 9 to avoid overcooking
suggest experimenting with a lower cook time and longer natural release to leverage passive cooking…something like 3 minutes high pressure, 5 minutes natural release (untested)
cheeses
Any melting cheese will work well here. I have used/tried and enjoyed:
mozzarella, shredded
provolone
pepperjack
jalapeno havarti slices
shredded pizza cheese blend
You can also sandwich a slice of cheese between layers of portioned pasta (the cheese pull in the picture is from a slice of provolone layered between pasta in the bowl)
See the freezing guide for tips and information on freezer-safe food storage.
add lemon juice to chicken and mix until well-coated
add remaining ingredients for marinade and mix until chicken is evenly coated
marinate in fridge for ~2-3 hours
Preheat oven: 425º F
Bake: 15-20 minutes, depending on thickness of chicken
in a small pot, heat butter and garlic (if using) gently on low heat until garlic loses its sharpness and butter is infused
take off the heat and add remaining ingredients for sauce; set aside
when chicken is done cooking, take out and brush with sauce
Notes
for the chili powder, use whatever you have on hand; I didn’t have it and subbed with a burger seasoning; it’s chill, get creative or just leave it out
I didn’t use oil in the marinade and chicken still came out juicy and tender (see photo); might get more browning if you use it
if you don’t have a brush for applying the sauce, just spoon it over or dunk the pieces to coat
Suggested uses
eat as-is
on a salad (you can try adding more lemon juice and maybe balsamic to the sauce leftovers for a quick dressing)
on stove top, you’ll need more water and salt than the recipe calls for; most of it will be drained off
in a small saucepot on the stove, gently melt butter and garlic; let simmer on low to infuse ~1-3 minutes
add heavy cream and continue to leave on a low simmer; do not boil
once pasta is cooked, turn off the heat and drain the water, reserving about a cup
add warm cream mixture and parm to the pasta and stir vigorously until everything is melted and has transformed into a creamy sauce, up to 5 minutes is fine
add black pepper, lemon juice, and any additional seasonings if using
Instant Pot
add pasta, water, and salt to inner pot, stir and make sure all the pasta is covered with water
pressure: high
time: 3 minutes
release: 5 minutes natural
in a small saucepot on the stove, gently melt butter and garlic; let simmer on low to infuse ~1-3 minutes
add heavy cream and continue to leave on a low simmer; do not boil
when 5 minutes of natural release is done, manually release remaining pressure
it may foam and froth a bit from the release valve, you can cover with a tea towel or release steam more slowly
there will be ~2 cups of pasta liquid in the pot, drain about half
add the cream mixture and parm; stiir vigorously until a creamy sauce is formed, ~5 minutes
add black pepper, lemon juice, and any additional seasonings if using
Notes
if the sauce is too thick, thin with some of the pasta water, milk or regular water (whatever you have on hand)
can also use milk or half and half if you don’t have cream, but may have to cook down longer to thicken
both the pasta water and parm are salty, so do not add any additional salt until the end, after tasting; at that point, adjust to your preference (I don’t add any)
Instant pot instructions will make pasta slightly past al dente; if you prefer firmer pasta, pressure cook for a minute less
This recipe was completely eyeballed, so all amounts are estimates; adjust to your tastes and preferences. If unsure, start with a little and add more if needed. Don’t be scared, it’s not that serious.
amount
ingredient
1 cup
strawberries, fresh, sliced
~15
mozzarella balls, fresh, small
2-3 T
basil pesto
to taste
salt
to taste
black pepper, fresh cracked
drizzle
olive oil
to taste
lemon juice, fresh
1 bag
spring mix
handful
arugula
2 T
balsamic vinaigrette
Process
Add all ingredients up through lemon juice into a bowl and mix thoroughly
In a separate bowl, mix the spring mix, arugula, and dress lightly with balsamic vinaigrette
To plate, fill individual salad bowls with salad greens and top with the strawberry caprese mix
Notes
toasted walnuts (or any other nut you prefer) would go great here
can pair with chicken breast as well for a protein boost
You can use any fresh mozzarella you want, I just had the little balls on hand, so that’s what I used; I tore them in half and squished them a bit
First, prep the ingredients which require it. I like to go in such an order that the meat is last so I’m not stuck chopping veggies on a nasty board or having to wash in between.
crush cumin and coriander seeds in a mortar & pestle
you can use a mini food processor, spice grinder, or a small, sturdy glass and the hilt of your knife (carefully)…use whatever you have on hand
no need to crush to a fine powder; some texture is good
chop cilantro
mince chilies or blitz in a processor (it’s handy to have this already in the freezer)
cut chicken into bite-sized pieces
Add all the ingredients except the besan to the chicken and mix thoroughly so that all the chicken pieces are evenly coated. Cover and let marinate in the fridge for ~1 hour.
Remove chicken from fridge and add enough gram flour (besan) to the mix to make a thin coating on the chicken. You don’t want it too thick either in consistency or coating. Adjust yogurt and besan amounts to achieve this result. You can thin the mixture with the liquidy parts of the yogurt, milk, or water.
Fry a couple pakoray and taste for seasoning; if all is good, fry the rest of the chicken in batches.
Notes
don’t be scared of the spices but also, if you don’t have a couple, you can leave them out
marination time is an ideal, not a requirement
use water to wet the batter instead of yogurt if you don’t have it; traditional pakoray batter is made with water, the yogurt just helps to tenderize the meat
This is a more “from-scratch” and meat-inclusive version of my quicker, spicy southwest veggie soup.
Ingredients
amount
ingredient
50g
black beans, dry
50g
white beans, dry
100g
kidney beans, dry
1 lb
chicken breast
24g
oil
160g
onion, diced
150g
bell pepper, diced
28 oz
tomatoes, diced
28 oz
water
15g
Better Than Bouillon
12 oz
corn, frozen
1 oz
jalapenos
2 T
cumin
1 T
chili powder
1 tsp
salt
to taste
black pepper
½ tsp
garlic powder
½ tsp
MSG
¼-½ cup
cilantro, chopped, fresh or frozen
1
lime, fresh, juice of (optional)
Process
Instant Pot
add all dried beans to Instant Pot and cover with ~1″ of water
pressure: high
time: 15 minutes
release: 10 minute natural
drain beans, set aside
sauté: high
add oil and chicken, sear until chicken is no longer pink; set aside
add onions and bell peppers, cook until translucent
add all other ingredients, including chicken, to pressure cooker
pressure: high
time: 4 minutes
release: 15 minute natural
remove chicken breast and set aside to cool enough to handle
blend soup sporadically with immersion blender until desired consistency reached (optional)
dice chicken into bite-sized pieces, or shred and return to pot
add cilantro and fresh lime juice, mix well and serve immediately
Stovetop
I’ve never bothered to make beans on the stovetop and wouldn’t recommend it to others. If you already have beans (canned, frozen, or just extra lying around, proceed with the below. Otherwise, just submerge dry beans in water and cook them forever.
in heavy-bottom pot, add oil and sear chicken until no longer pink; set aside
add onions and bell peppers, cook until translucent
add the rest of the ingredients, including chicken; simmer until chicken is cooked through and all other components have meshed together
remove chicken and allow to cool enough to handle
blend soup sporadically with immersion blender until desired consistency reached (optional)
dice chicken into bite-sized pieces, or shred, and return to pot
add cilantro and fresh lime juice, mix well and serve immediately
Notes
This soup goes great with:
a dollop of sour cream
corn tortilla strips, chips, or broken up tostada/tortilla shells
shredded cheese of choice
avocado
fresh jalapeno coins
a dash of hot sauce
crusty bread
Picture shows soup made with 3-4 T of heavy cream, and 2 cans of tomato sauce instead of the diced tomatoes, since that’s what I had on hand. I had already copied my before small and uniform, and with no large tomato chunks, I didn’t bother to blend. Extra lime juice and pepper jack cheese added to serve.
See the freezing guide for tips and information on freezer-safe food storage.