Credits
Recipe adapted from Foodie Crush.
Ingredients
Makes 1 serving
| amount | ingredient |
|---|---|
| 5g | olive oil, extra virgin |
| 15g | balsamic vinegar |
| small pinch | salt |
| couple cranks | black pepper, fresh cracked |
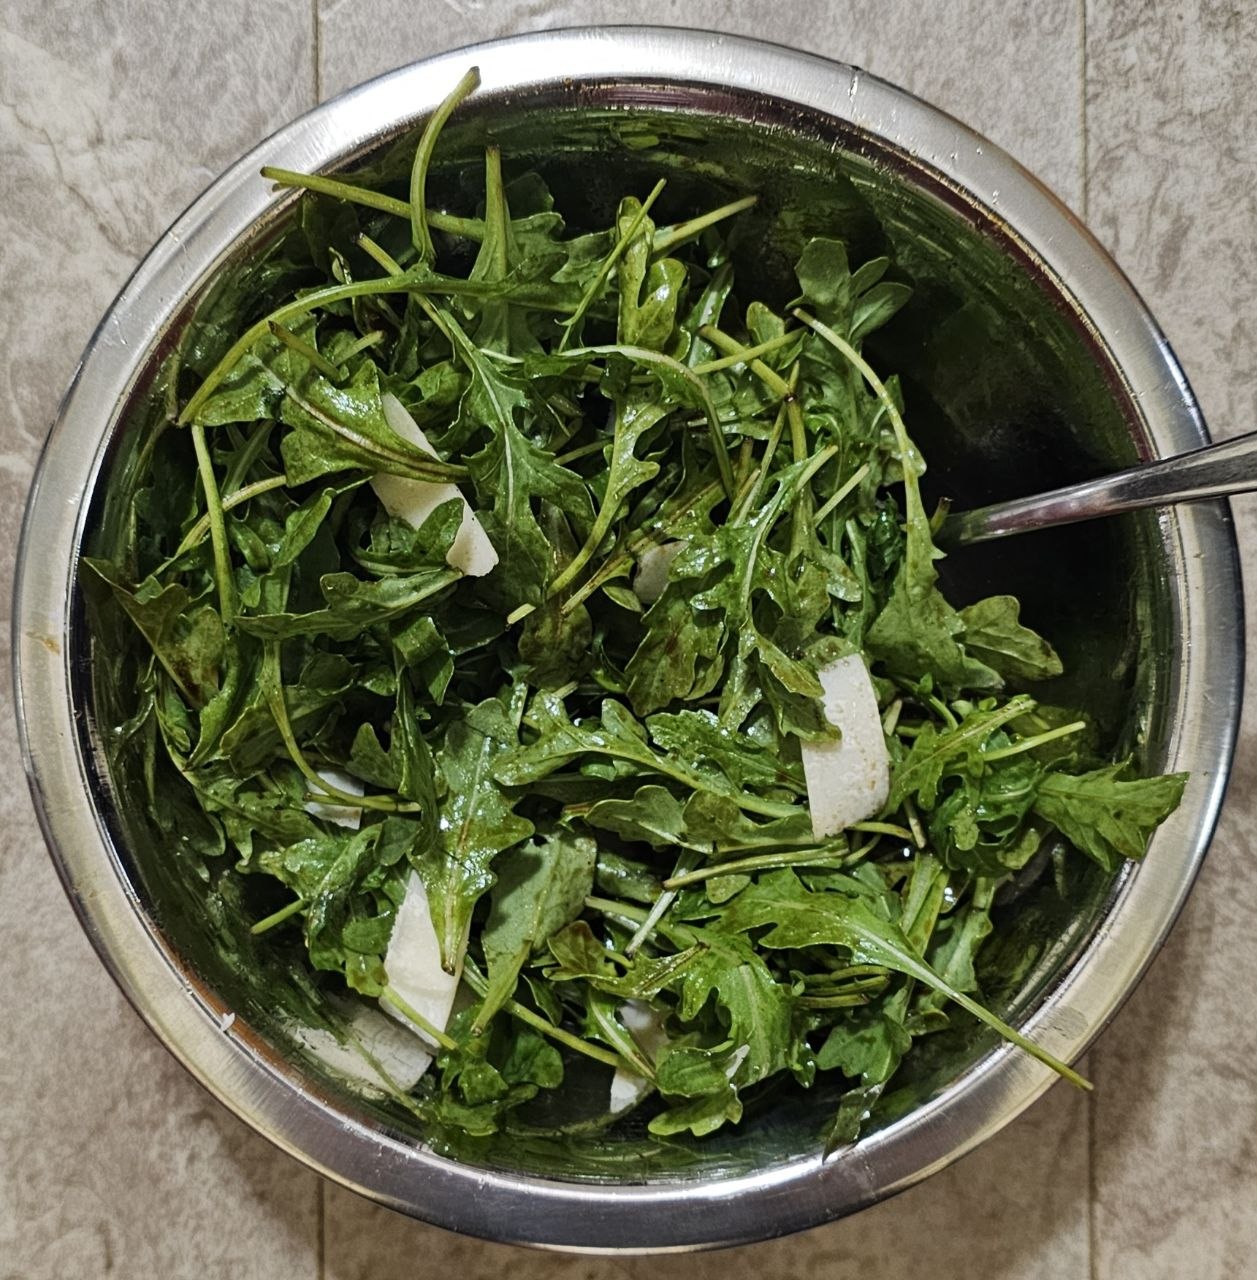
| 50g | arugula |
| 10g | Parmagiana Reggiano, shaved |
Process
- in a medium bowl, add oil, vinegar, and seasonings, use your salad fork to give it a quick whisk
- add arugula and use your hands to toss and coat the greens evenly; you can give them a bit of a massage to help soften, but nothing too rough
- use a vegetable peeler to shave parm on top
- serve immediately; this salad won’t be great if it’s sitting out for hours
Nutrition
whole recipe (1 serving): 139 calories
Notes
This recipe is suuuuper basic, resulting in an acidic, lightly dressed salad. Adjust all amounts to your preferences.
I prefer my salad dressings to be tart and not overly oily, but the standard vinaigrette ratio is usually 2 parts oil to 1 parts acid. Do whatever you like better. I also prefer very lightly dressed salads. If you like more dressing, increasing those ingredients or use fewer greens.
The greens can be whatever you have on hand: spring mix, spinach, dandelion greens, celery tops, carrot greens, etc. Use what you have.
The Acid
Feel free to swap out any acidic component for the balsamic. Fresh lemon juice, apple cider vinegar, champagne vinegar, etc. Here I used a good quality Balsamic, which is a bit sweet naturally. If you’re using a low quality Balsamic (which definitely has it’s place), start with about half and build up from there.
Add-ins
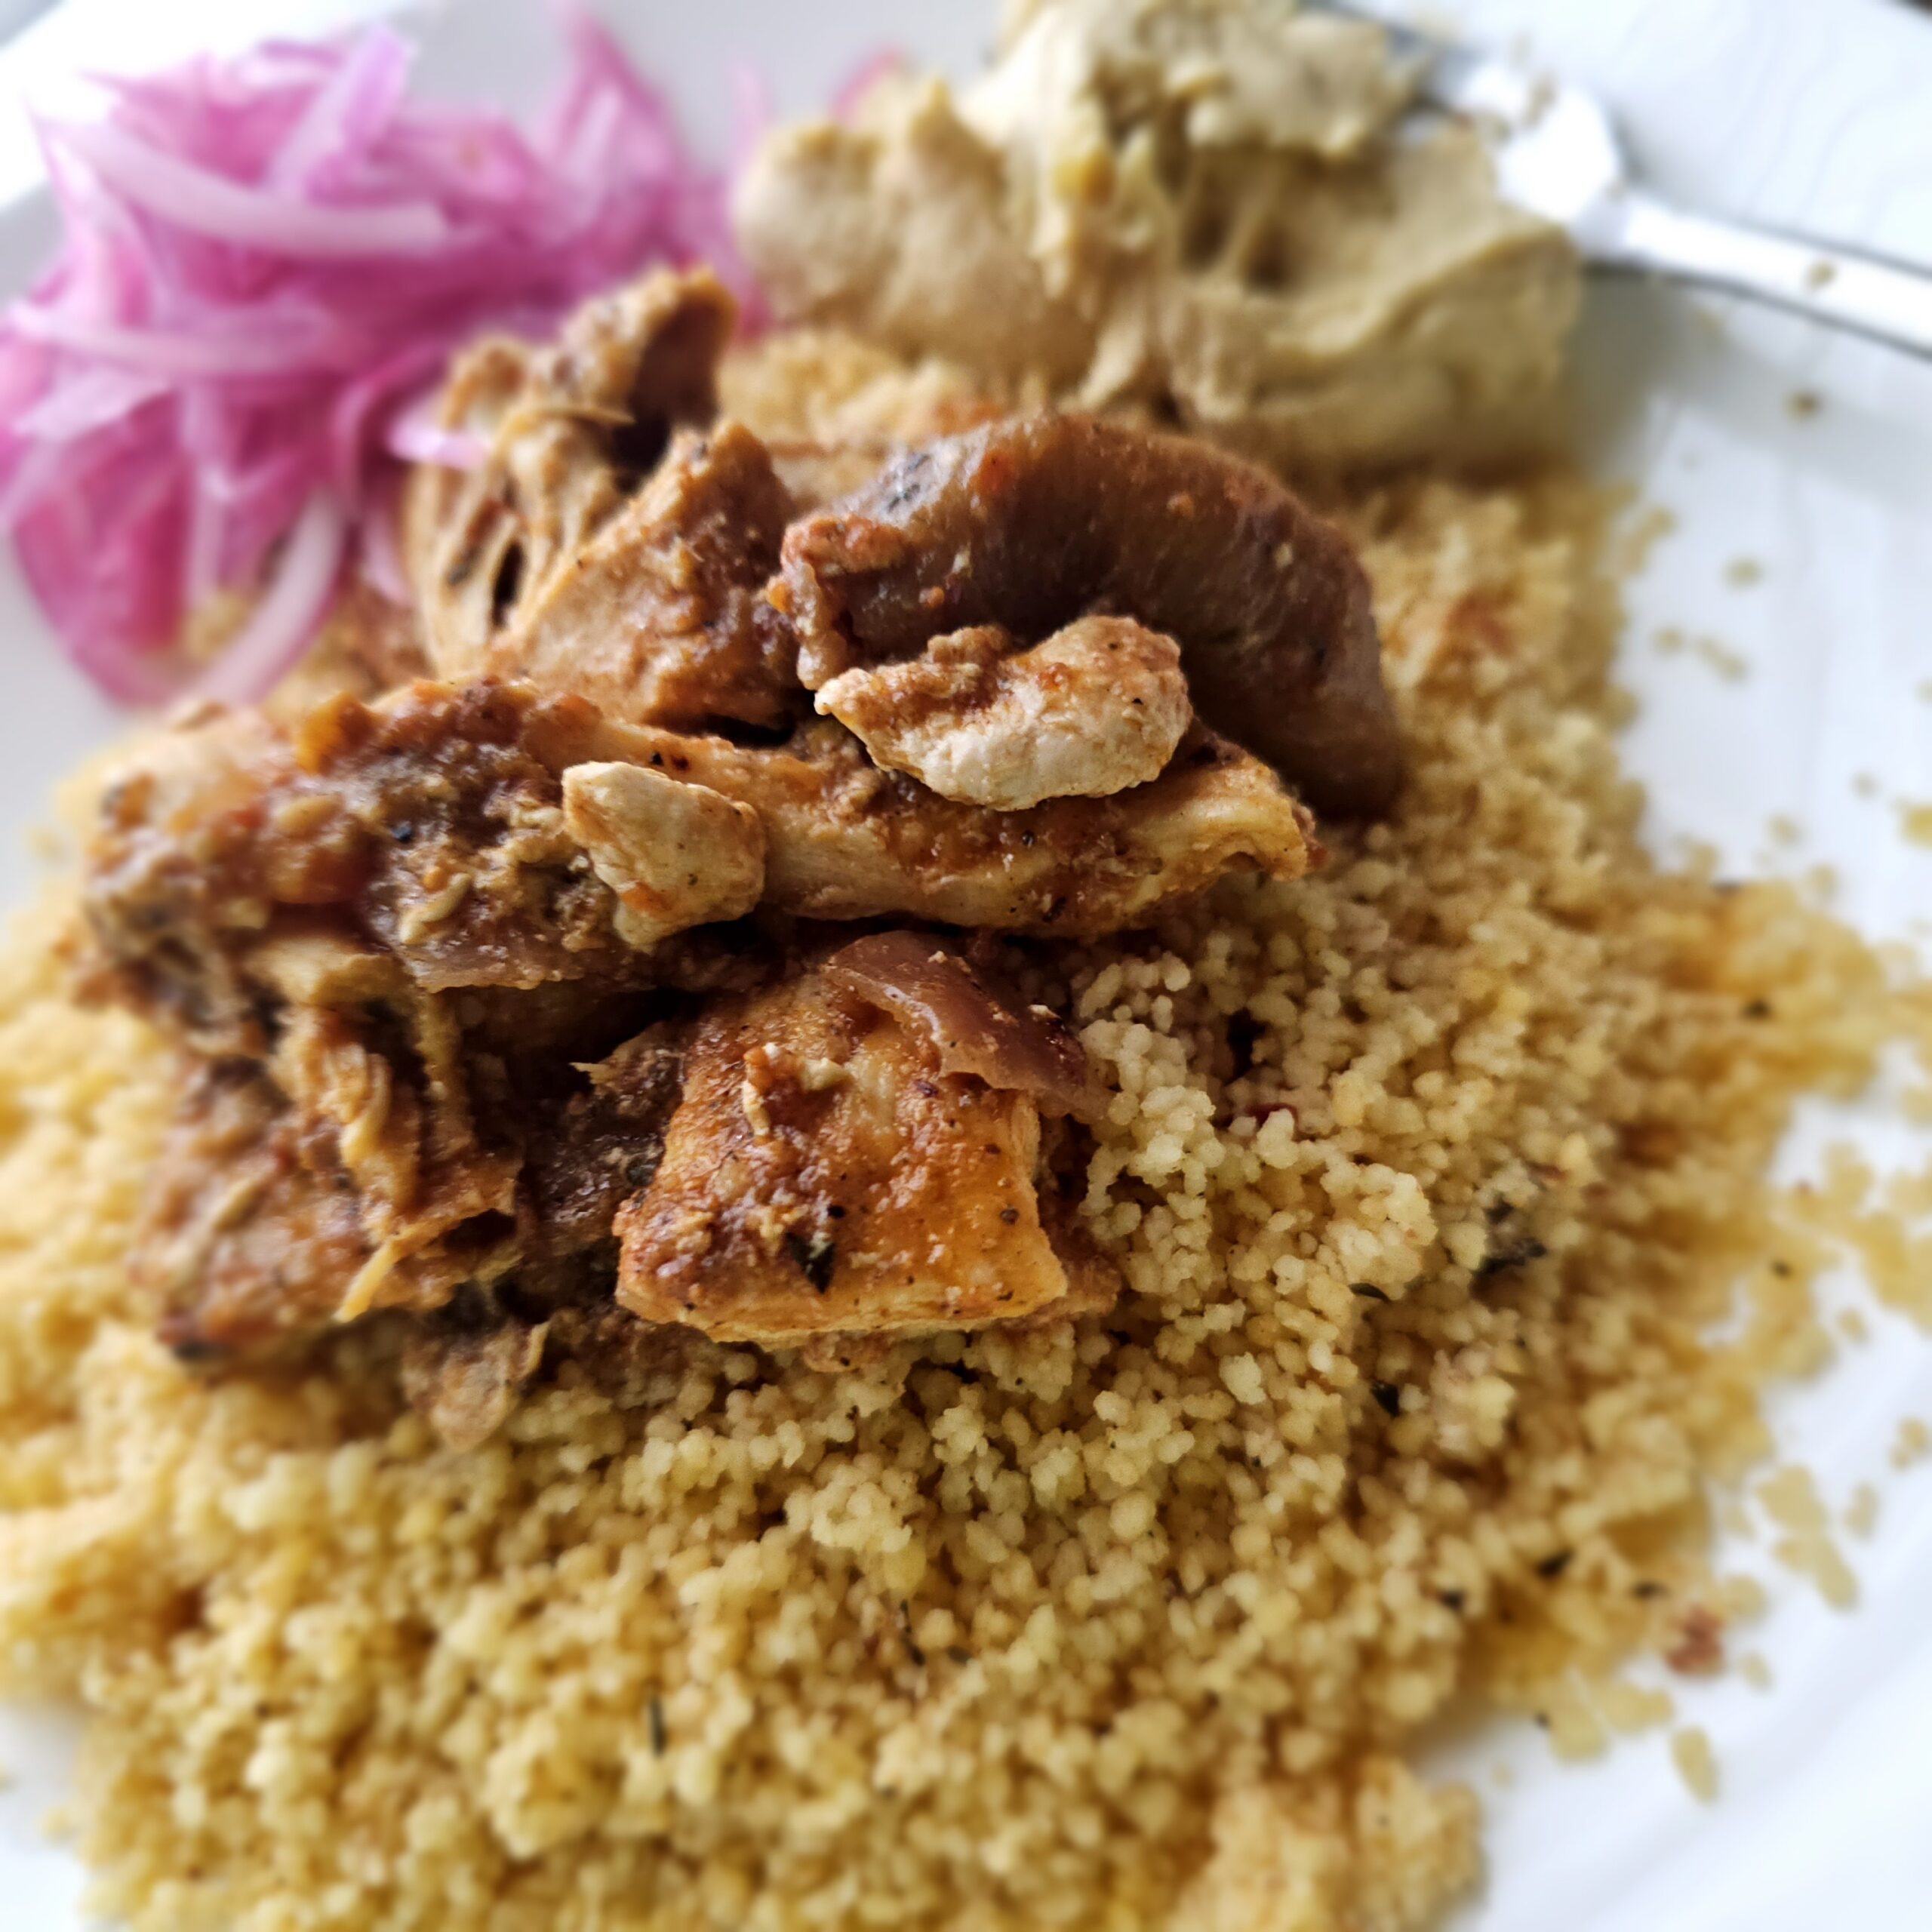
- chicken breast
- fresh mozzarella
- goat cheese
- tomatoes
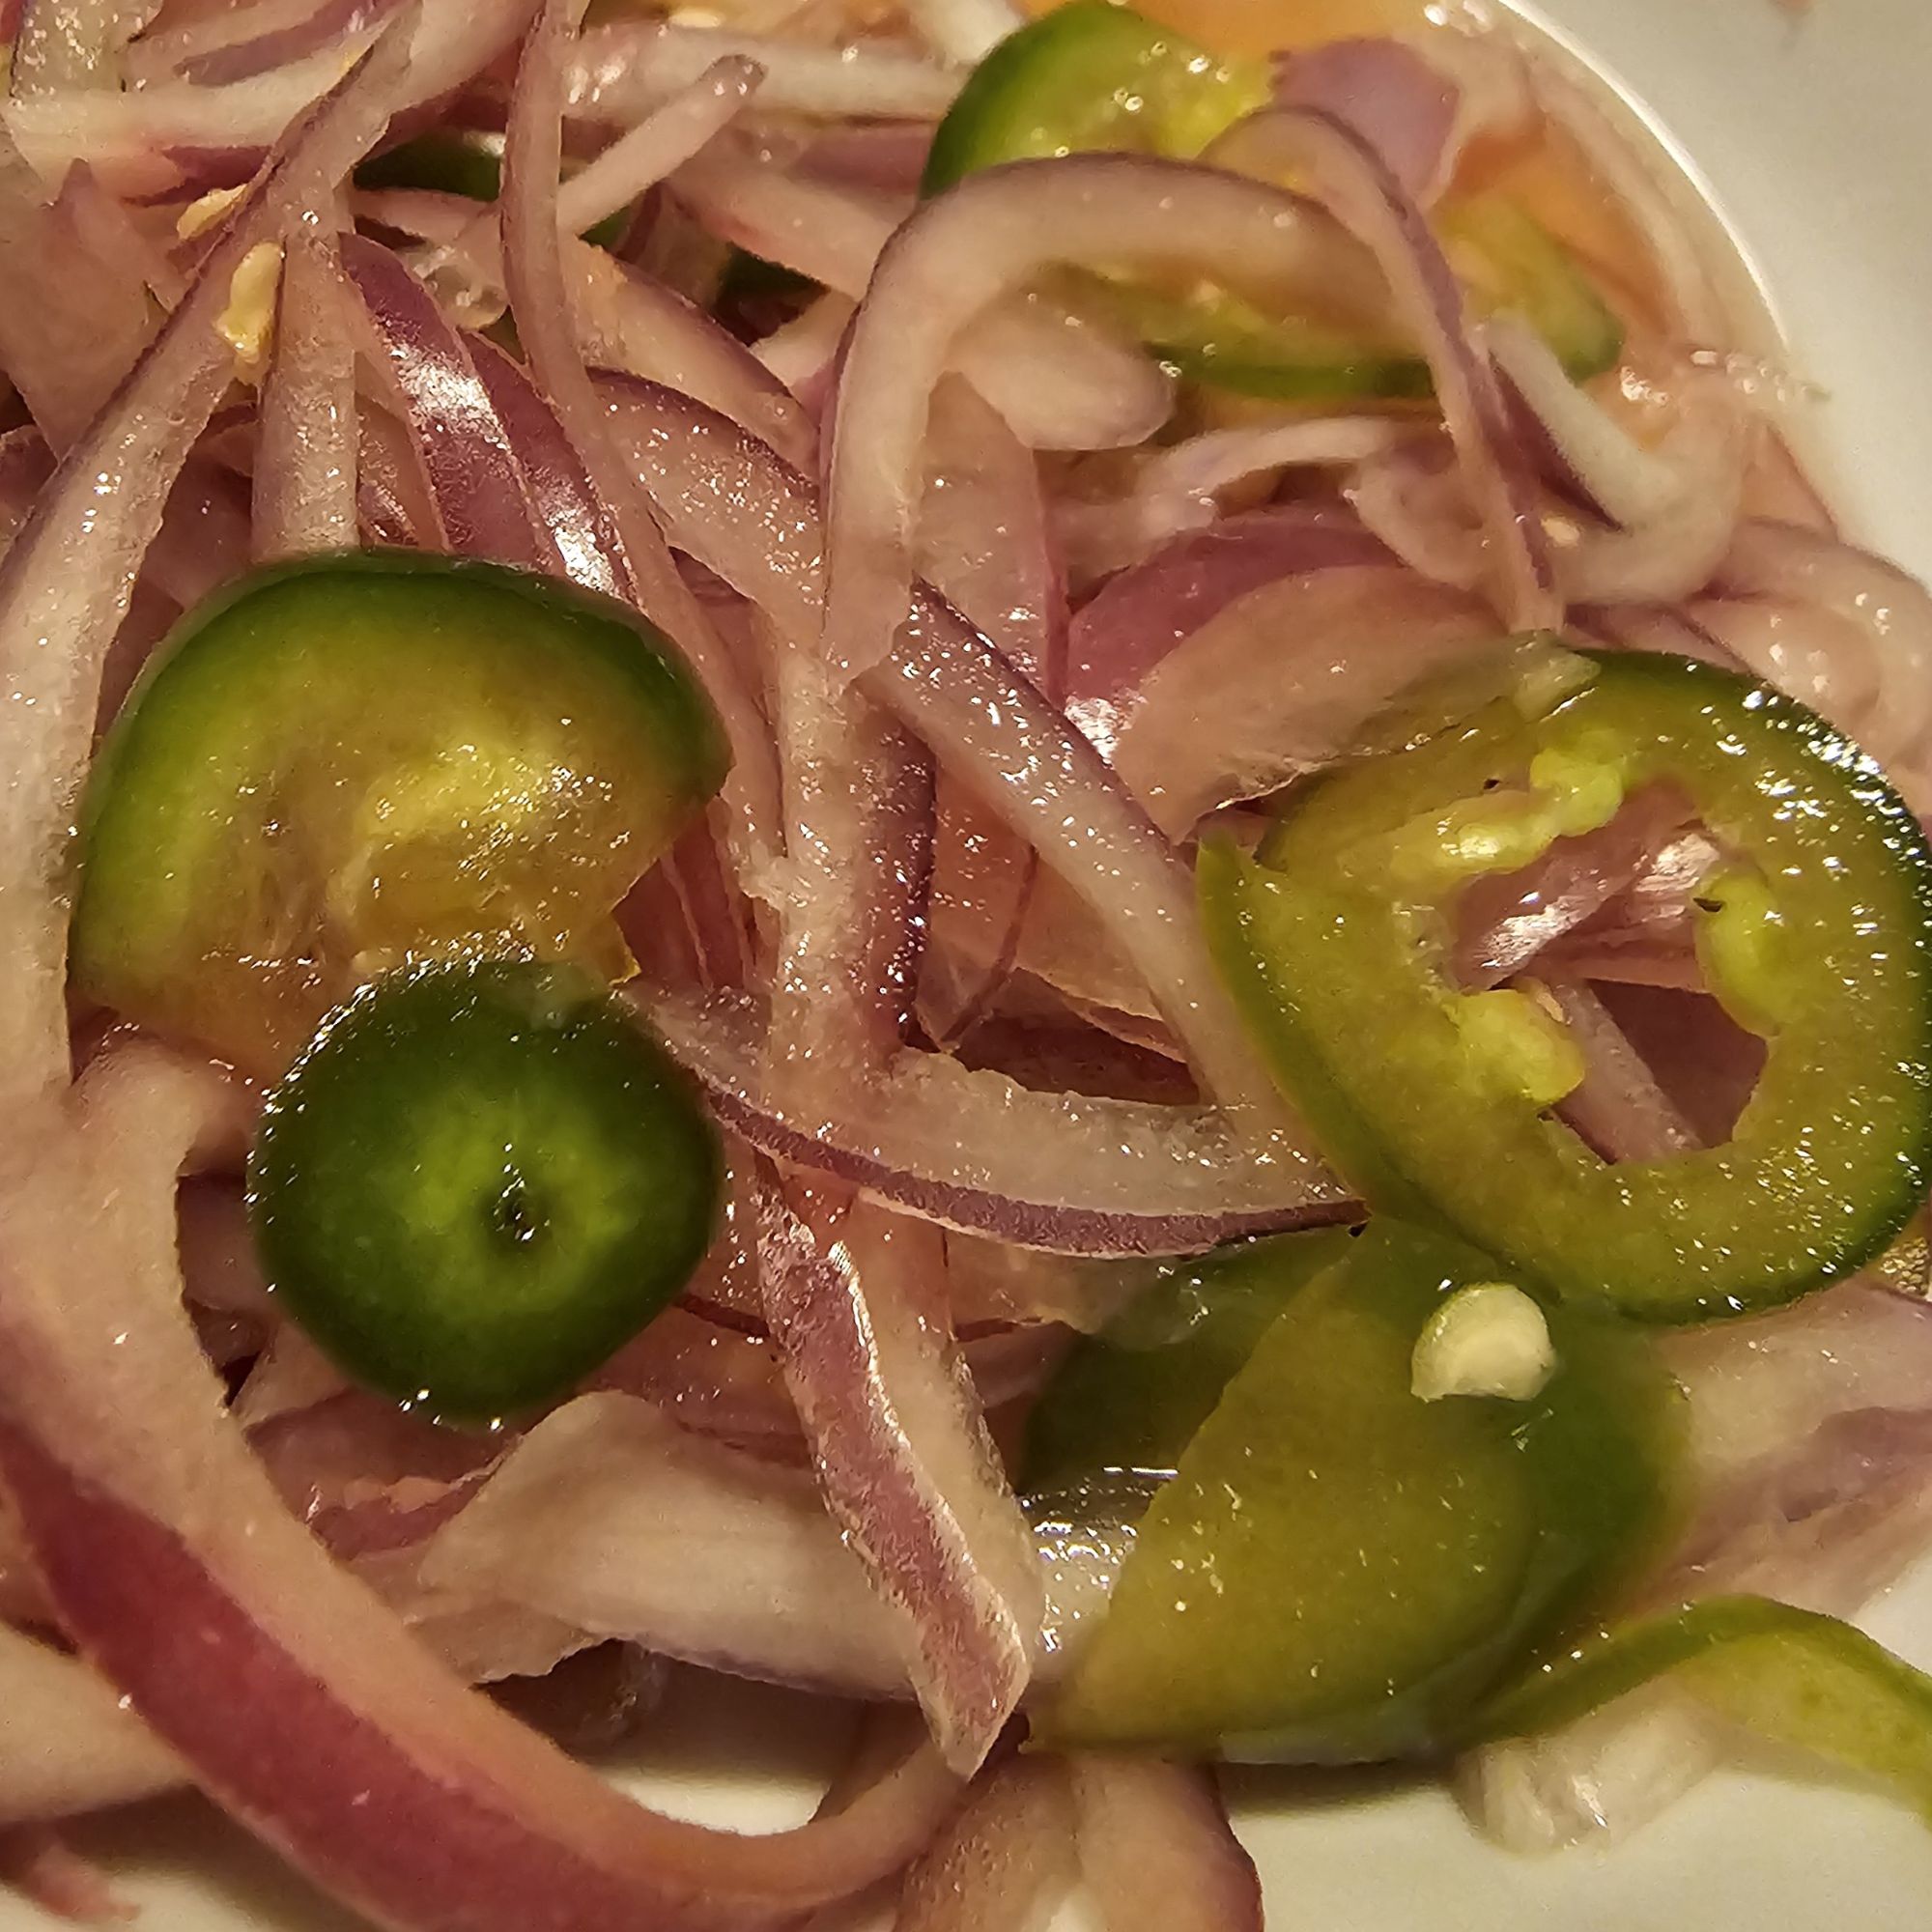
- thin sliced red onions
- toasted nuts
- apples
- pears
- strawberries
- chopped dates
- couscous
- quinoa