Unfussy biryani made from leftover salan, on the stove top or the Instant Pot. Use any shorba or qorma wala salan that has a tomato onion masala base. See Notes section for a “salan” hack if you don’t have any on hand.
Credits
Recipe adapted from Mirchi Tales.
Ingredients
| amount | ingredient |
|---|---|
| 500g | rice, basmati |
| 1 tsp | salt |
| as needed / 675g | water (stove top vs instant pot) |
| 28g / 2 T | oil |
| 1 | onion, medium, sliced thin |
| 1 | potato, gold, large, chopped |
| 1 | tomato, medium, chopped |
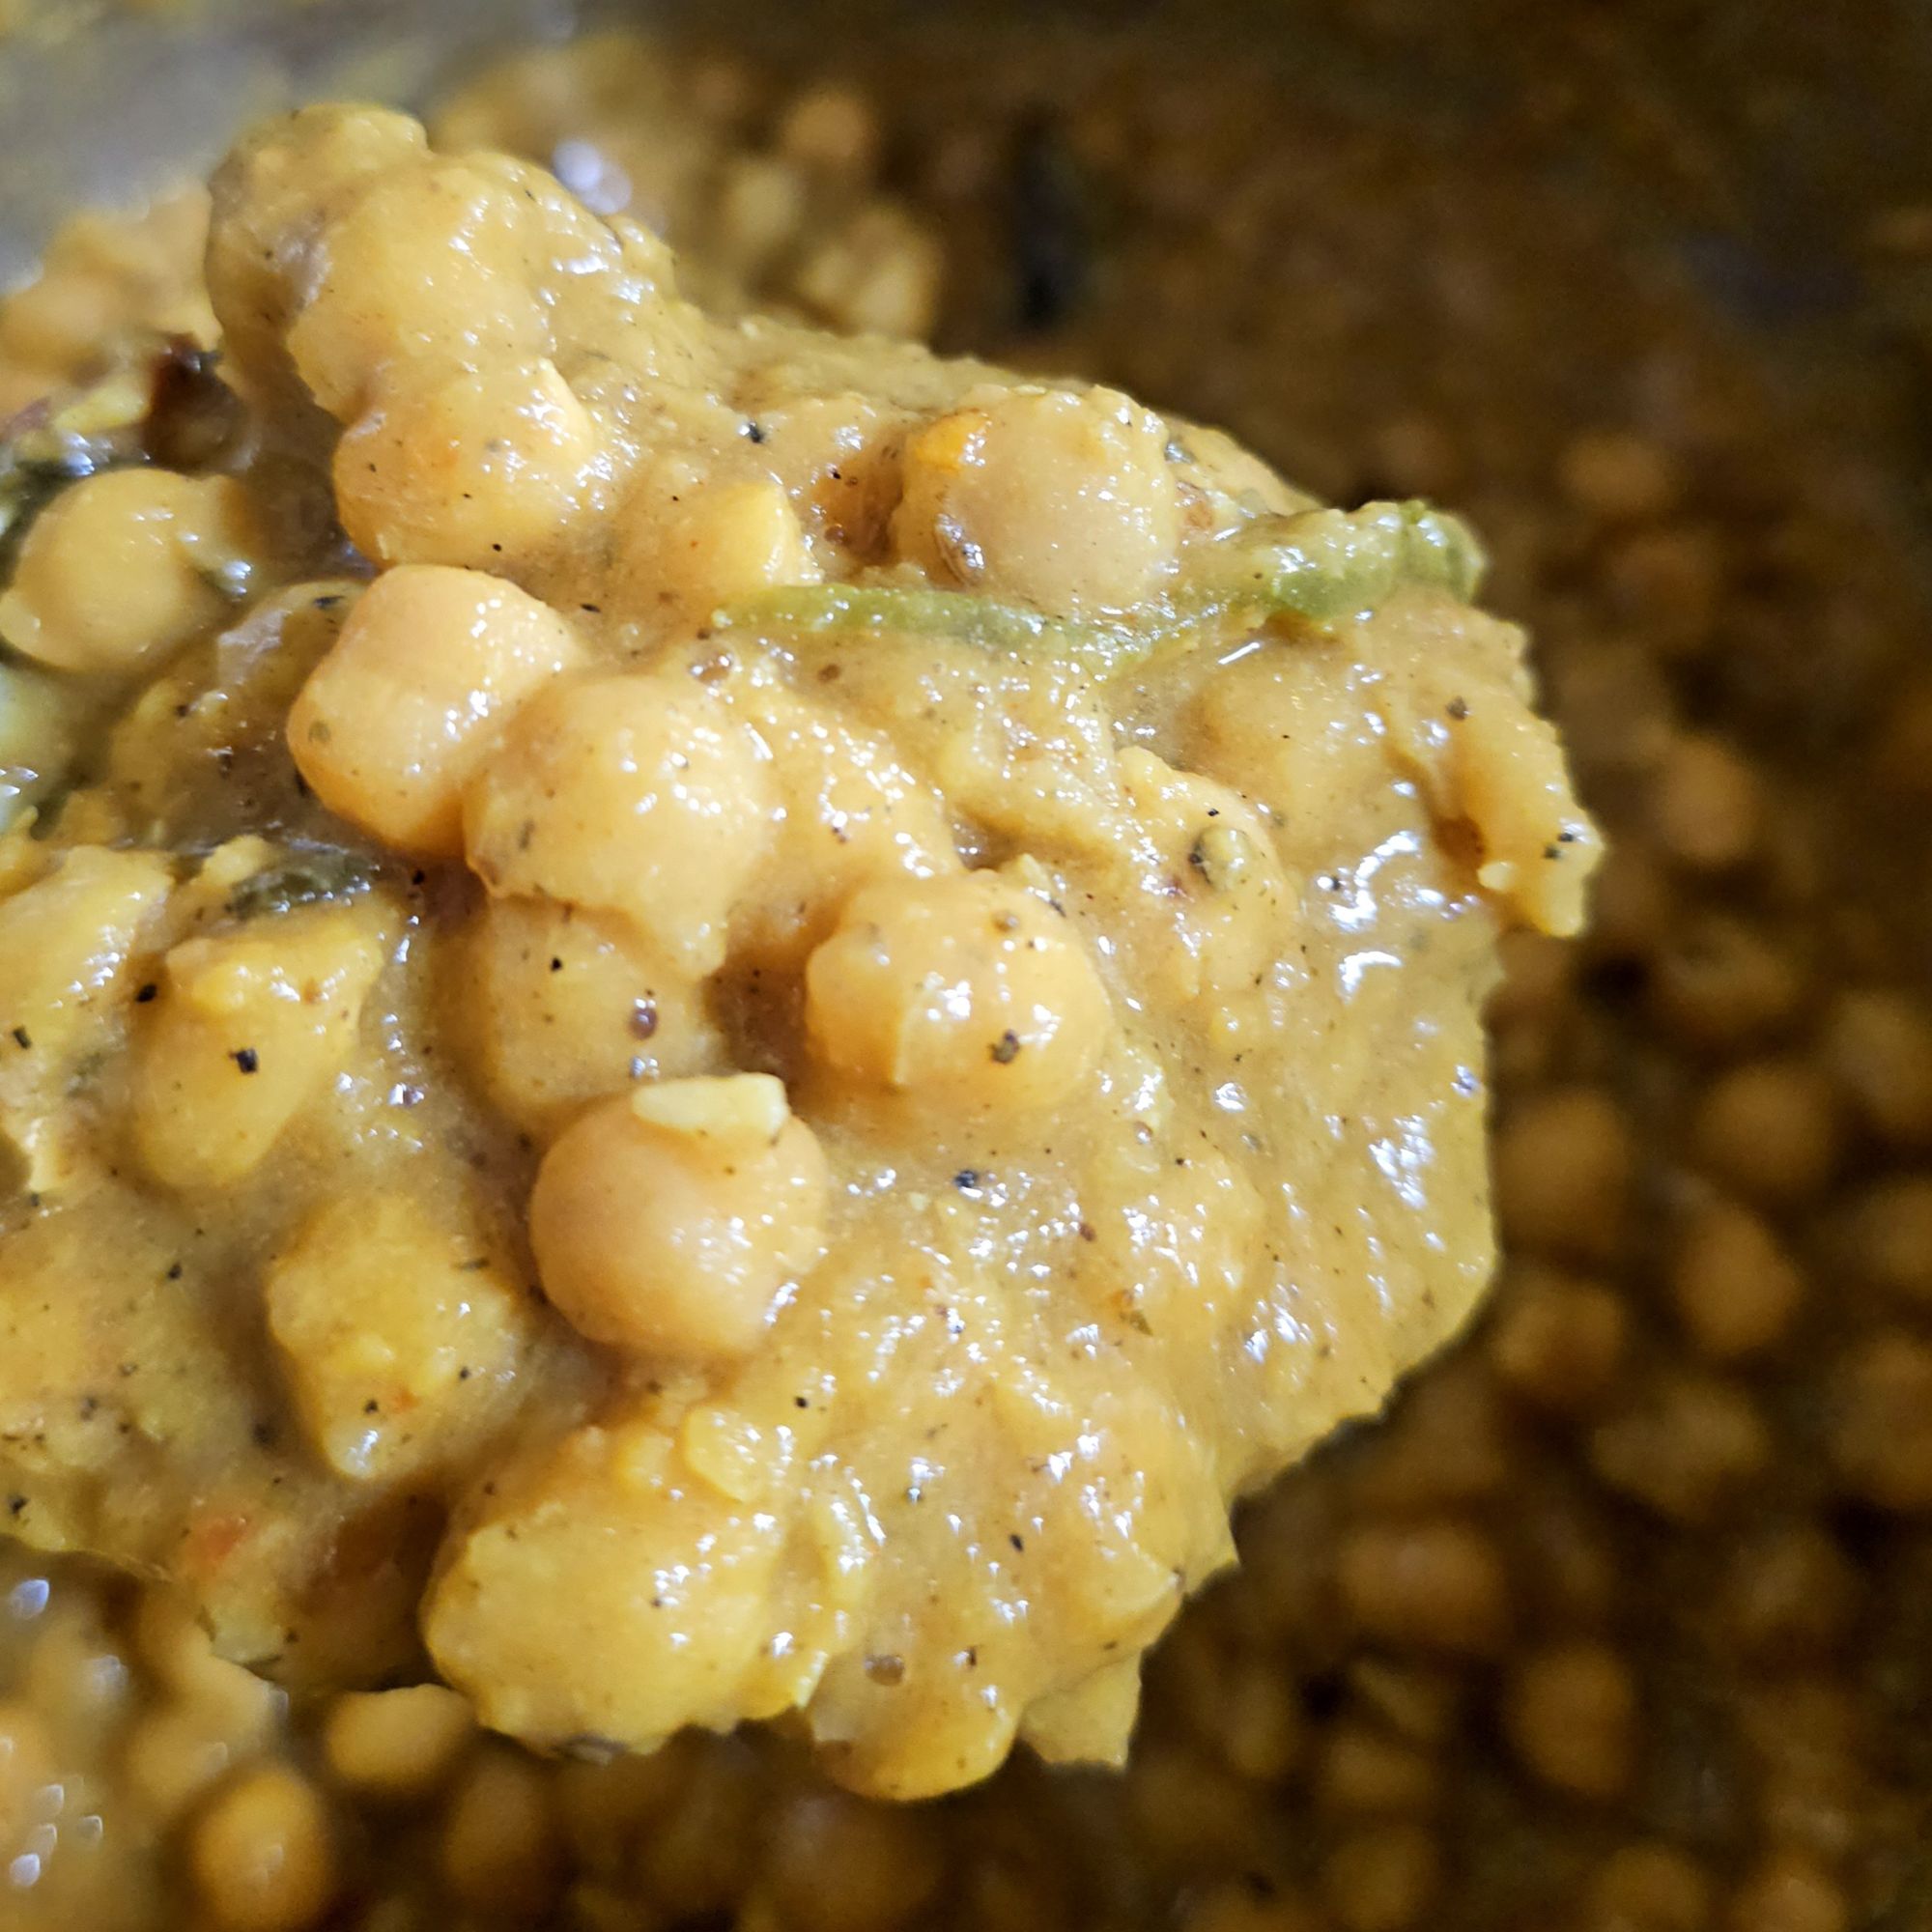
| 2 cups | leftover salan |
| ~2-3 T | Shan Special Bombay Biryani masala |
| 2 T | yogurt |
| 1 | jalapeño, sliced |
| ¼ cup | cilantro, fresh, chopped |
| 2 T | mint, fresh, finely chopped |
process
Stove top
The stove top version is unfussy from using leftover salan and also from only making 1 layer, in a wide, shallow paella pan (if you have one). If you don’t have such a pan, use whatever pot you have, and you can do multiple layers if you want.
- wash rice thoroughly 4-5 times, and set to boil with 1 tsp salt in medium sized pot; cook until 80-90% done
- heat a large, wide paella pan, add oil until shimmering, add onions to brown along with the potatoes
- add tomatoes and cook until they start to break down
- add half the jalapeño and all the Shan masala, sauté a few minutes to infuse oil with flavor and mix thoroughly
- add salan, mix thoroughly
- add yogurt; mix
- cook gravy down until mostly “dry” and oil starts to separate, reduce heat to minimal
- gravy should taste a little too salty and overspiced at this stage
- spread gravy out in an even layer
- strain rice (should be about 85% done, but it’s not that deep), spread evenly on top of the gravy in a single layer
- sprinkle cilantro, mint, and the rest of the jalapeño on top; cover with a tight-fitting lid, set to steam for ~15 minutes at lowest heat setting
- fluff up and serve
Instant Pot
The instant pot version is even more unfussy, because there’s no layering whatsoever, it’s all cooked together, pulao style, and made in just one pot. No futzing about with getting the rice to 85% done, etc. Down side is that the rice will all be one color, not variegated like when it’s layered.
mode: sauté
temp: medium
- wash rice thoroughly 4-5 times, set aside to soak for 30-60 minutes
- when IP is hot, add oil, onions, salt; cook until onions start to brown
- add tomatoes, potatoes, half the jalapeños, cook until they start to break down
- add Shan masala, mix thoroughly and cook for 1-2 minutes
- add salan, mix and cook down
- add yogurt; mix
- cook gravy down until mostly “dry” and oil starts to separate; turn off sauté mode
- drain rice and add to instant pot, along with 675g water
- use your judgement; if your gravy is a bit wet (maybe you had to periodically deglaze with water), use slightly less water
- sprinkle cilantro, mint, and remainder of the jalapeño on top, close the lid
pressure: high
time: 4 minutes
release: 5 minute natural release
- open lid and fluff rice;
- if it looks a little wet, leave the lid off and let the rice air out after fluffing, periodically fluff again so the rice on the bottom has a chance to air out as well
notes
- The Sukhi’s brand chicken curries from Costco make a great base here; mango coconut curry flavor works better than the tikka masala, as it’s more mildly spiced. One pouch is enough for this recipe (the Costco pack contains 2 pouches).
- Any tomato-based salan will probably work; I’ve even made leftover biryani from an Italian chicken dish I’d made, so don’t be shy to experiment. The biryani masala is quite strong and will overpower most existing flavors.
- can be made vegetarian easily
- can also add goodies like dried plums when making the gravy
Biryani Masalay
There are other biryani mixes available, even from the same brand, and I’ve used several when making this recipe—but none of them give the perfect biryani flavor that I get from the Shan Special Bombay Biryani mix, so I stick with it.
If you have others on hand, use them at your own risk. Here are some of my notes below:
- Shan regular biryani mix is…fine, but nothing really to write home about, it’s missing whatever gives the Special Bombay Biryani its chatpata zing
- National brand is ok but heavier on the laal mirch, so use a more sparing hand
- Lazizah was basically all mirch, so use a very light hand; also, very few other notes could be detected; do not recommend
See the freezing guide for tips and information on freezer-safe food storage.